
Introduction
Deploying applications and setting them up for public access is a critical step in the development lifecycle. This blog provides an in-depth guide on deploying a backend to AWS and preparing an Android app for publishing on the Google Play Store. Whether you’re new to these processes or looking to refine your skills, this guide covers everything you need to know with detailed steps and best practices.
Part 1: Deploying Applications on AWS
1.1 Why Choose AWS for Deployment?
Amazon Web Services (AWS) is one of the most popular cloud platforms due to its scalability, security, and comprehensive service offerings. It provides:
- Flexibility: A wide range of tools and configurations to suit diverse applications.
- Global Reach: Multiple data centers worldwide ensure low latency and high availability.
- Cost-Effectiveness: Pay-as-you-go pricing allows you to scale resources based on demand.
- Security: Robust security features, including encryption, compliance certifications, and firewalls.
1.2 Prerequisites
Before starting the deployment process, ensure you have:
- An active AWS account.
- Application code ready for deployment (e.g., a backend server built with Django, Flask, Node.js, etc.).
- Basic familiarity with AWS services like EC2, S3, and RDS.
1.3 Steps for Deployment
Step 1: Set Up an EC2 Instance
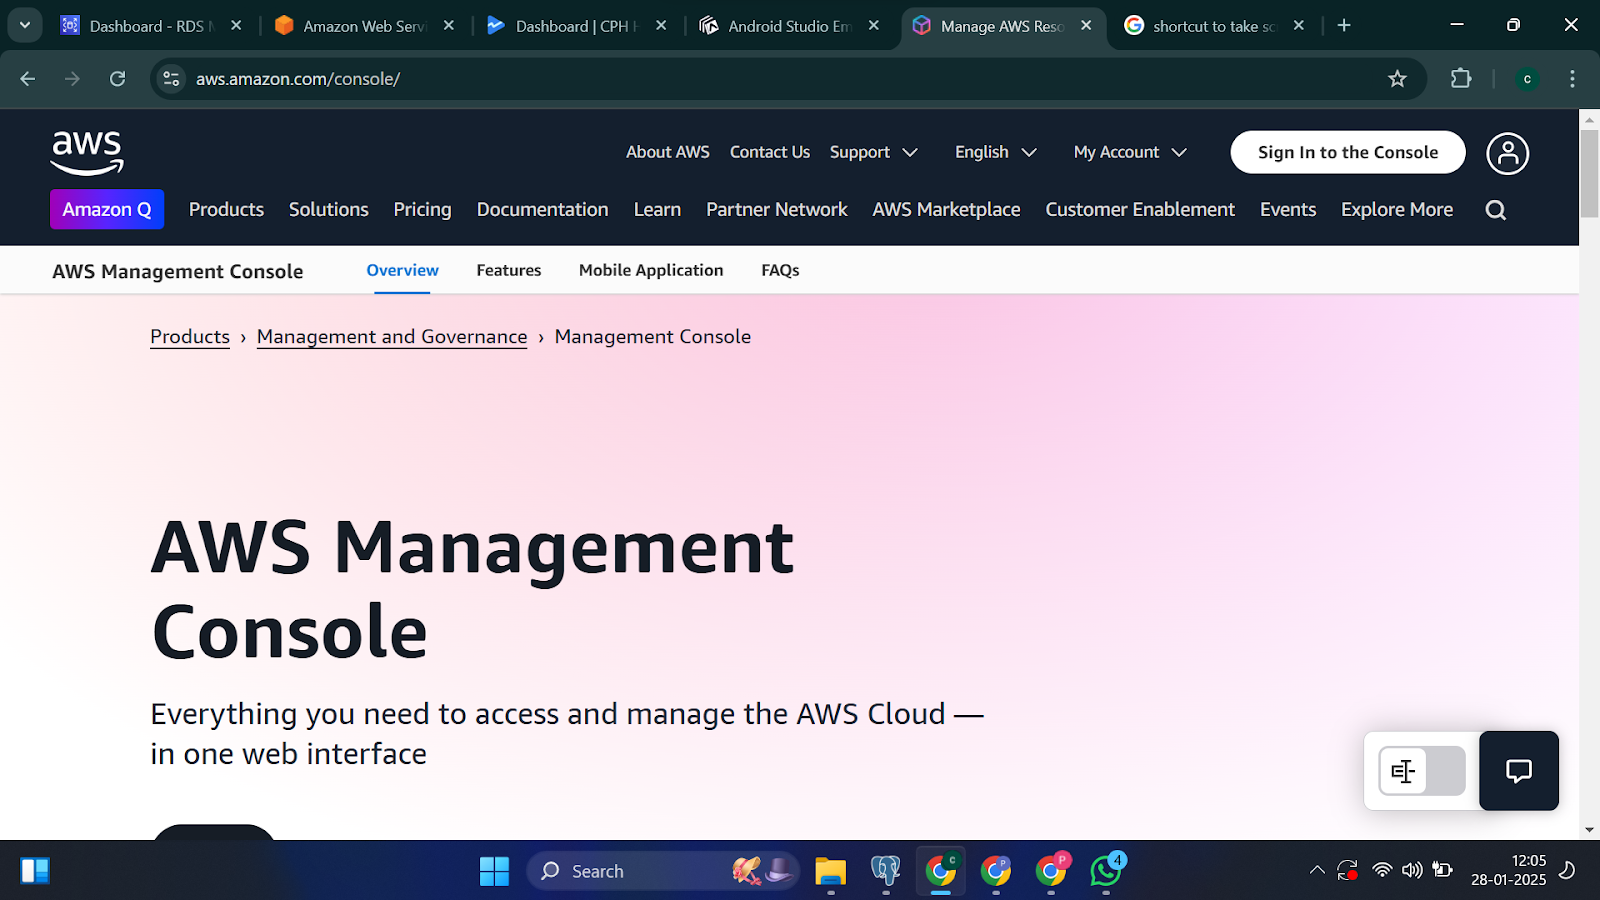
- Log in to AWS Console:
- Go to the AWS Management Console.
- Navigate to the EC2 Dashboard.
- Launch a Virtual Server:
- Click Launch Instance.
- Choose an Amazon Machine Image (AMI). For example, select Ubuntu Server 22.04 LTS.
- Select an instance type (e.g., t2.micro for free-tier eligibility).
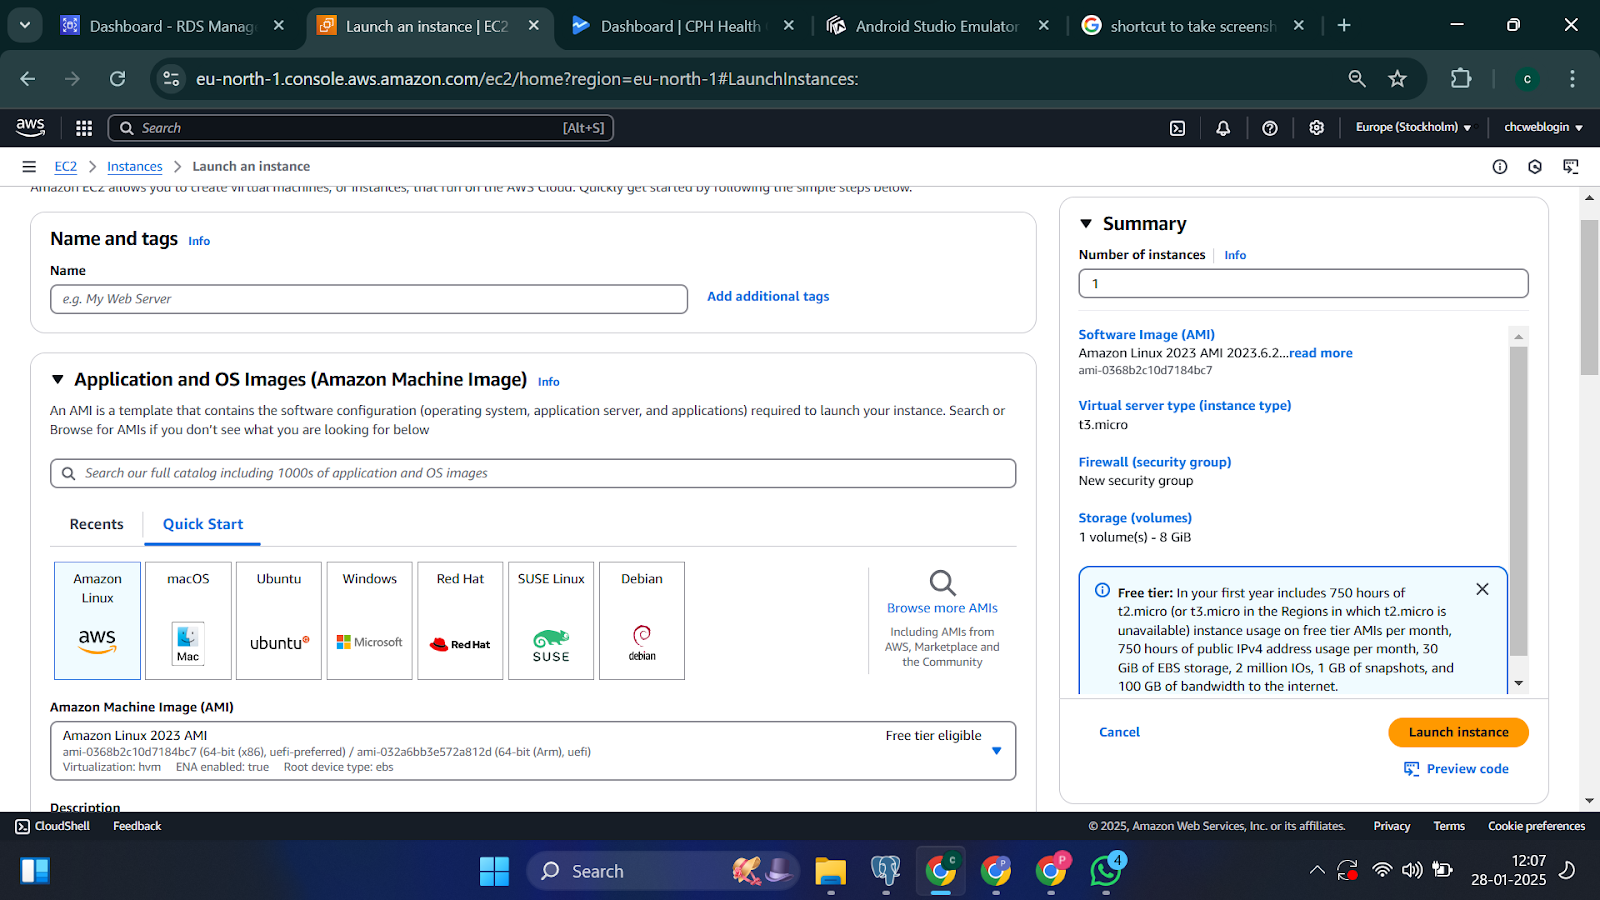
- Configure Instance Details:
- Choose the number of instances.
- Assign the instance to an existing Virtual Private Cloud (VPC) or create a new one.
- Enable Auto-assign Public IP to allow external access.
- Add Storage:
- Configure the size and type of storage (e.g., 8 GB General Purpose SSD).
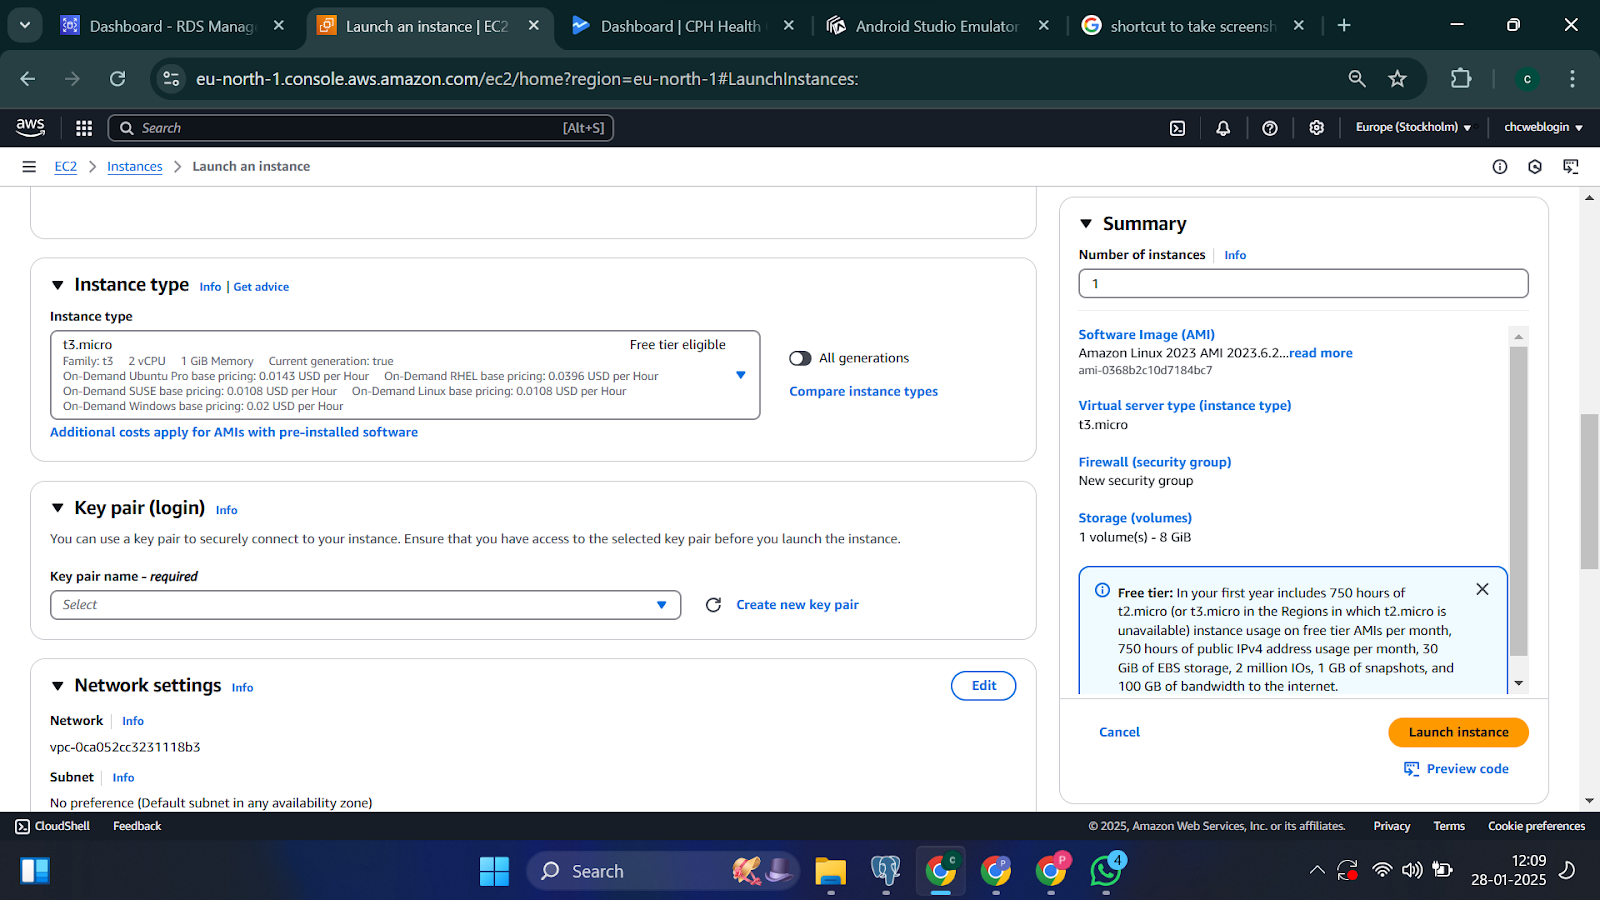
- Configure Security Groups:
- Add rules to open necessary ports:
- Port 22 for SSH.
- Port 80 for HTTP.
- Port 443 for HTTPS
- Add rules to open necessary ports:
- Launch the Instance:
- Review your settings and click Launch.
- Download the private key file (.pem) for SSH access.
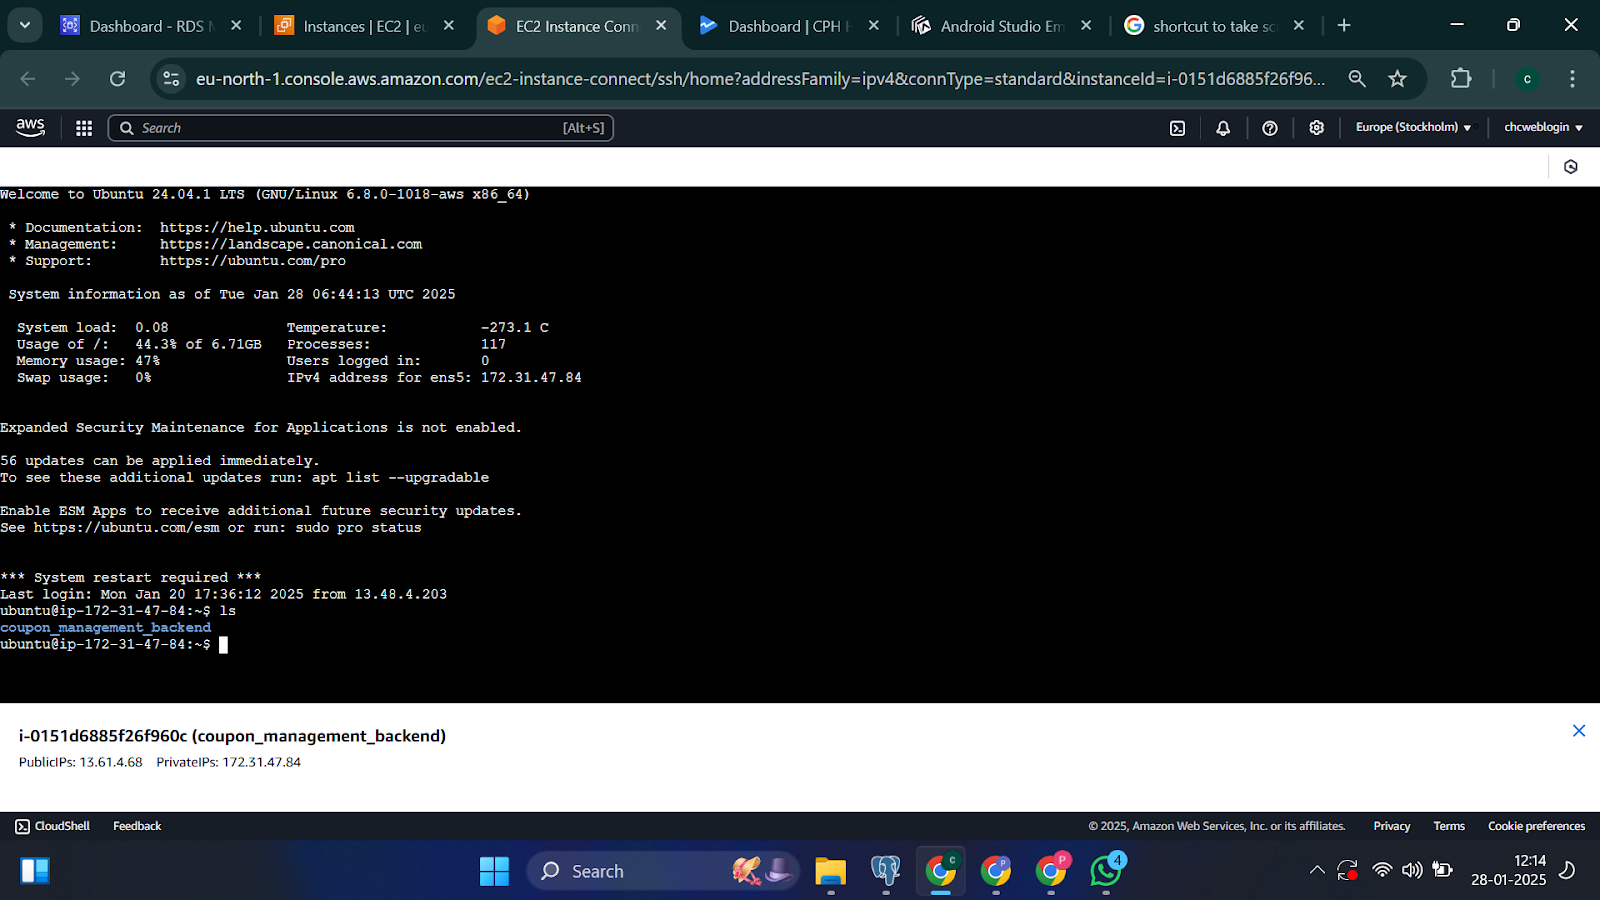
Step 2: Connect to the Instance
Use SSH to connect to your EC2 instance:
ssh -i your-key.pem ubuntu@<your-ec2-public-ip>
Update the system packages:
sudo apt update && sudo apt upgrade -y
Step 3: Deploy Your Application
- Install Dependencies:
- Install necessary software for your application, such as Python, Node.js, or Docker.
2. Clone Your Code Repository:
git clone <your-repo-url>
- Configure Your Application:
- Set environment variables for sensitive data like database credentials.
- Modify configuration files for production settings.
- Set Up a Web Server:
- Install and configure Nginx or Apache to serve your application.
Example Nginx configuration:
server {

    listen 80;
    server_name your-domain.com;
    location / {
        proxy_pass http://localhost:8000;
        proxy_set_header Host $host;
        proxy_set_header X-Real-IP $remote_addr;
    }
}
- Restart Nginx:
sudo systemctl restart nginx
- Start Your Application:
- Use a process manager like Gunicorn, PM2, or Supervisor to keep your application running.
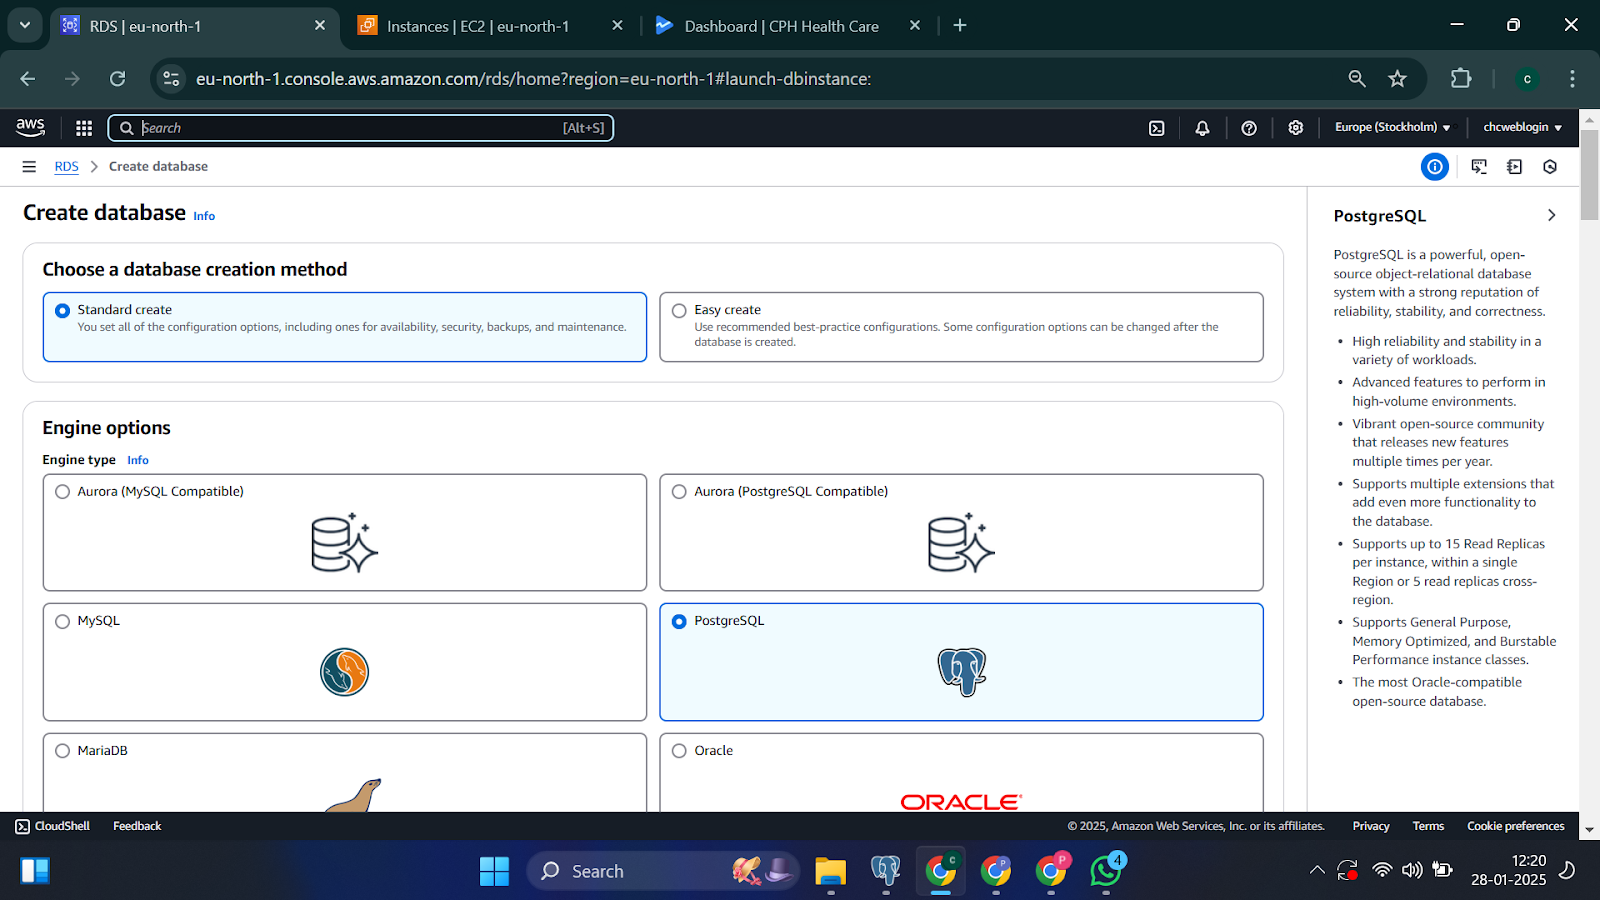
Step 4: Configure a Database (Optional)
- Use AWS RDS for a managed database solution.
- Choose the database engine (e.g., PostgreSQL, MySQL).
- Configure the instance size, storage, and VPC settings.
- Restrict access to your EC2 instance’s IP.
- Update your application’s database connection settings.
Step 5: Secure Your Deployment
- Enable HTTPS:
- Use AWS Certificate Manager (ACM) to request a free SSL/TLS certificate.
- Attach the certificate to your application’s load balancer or Nginx server.
- Set Up a Custom Domain:
- Use AWS Route 53 to manage your DNS records.
- Create an A record pointing to your EC2 instance’s public IP.
- Monitor with CloudWatch:
- Set up CloudWatch alarms for CPU usage, memory, and application errors.
Part 2: Setting Up an Android App on Google Play Store
2.1 Why Publish on Google Play Store?
Publishing your app on the Play Store gives you access to a global audience, advanced monetization options, and trust among users due to Google’s rigorous app review process.
2.2 Prerequisites
Ensure the following are ready before proceeding:
- A Google Play Developer account.
- The final APK or AAB file signed and optimized.
- App assets, including app icon, screenshots, and feature graphics.
- Detailed app descriptions and a privacy policy.
2.3 Steps for Play Store Setup
Step 1: Register for a Google Play Developer Account
- Visit the Google Play Console.
- Sign in with your Google account.
- Pay the one-time registration fee of $25 USD.
- Complete the developer profile, including business details.
Step 2: Prepare Your App for Release
- Generate a Signed APK or AAB File:
- Open Android Studio and navigate to Build > Generate Signed Bundle / APK.
- Select Android App Bundle for modern apps.
- Choose an existing key or create a new one.
- Optimize the App:
- Enable code minification and obfuscation using ProGuard.
- Test the release build on multiple devices and configurations.
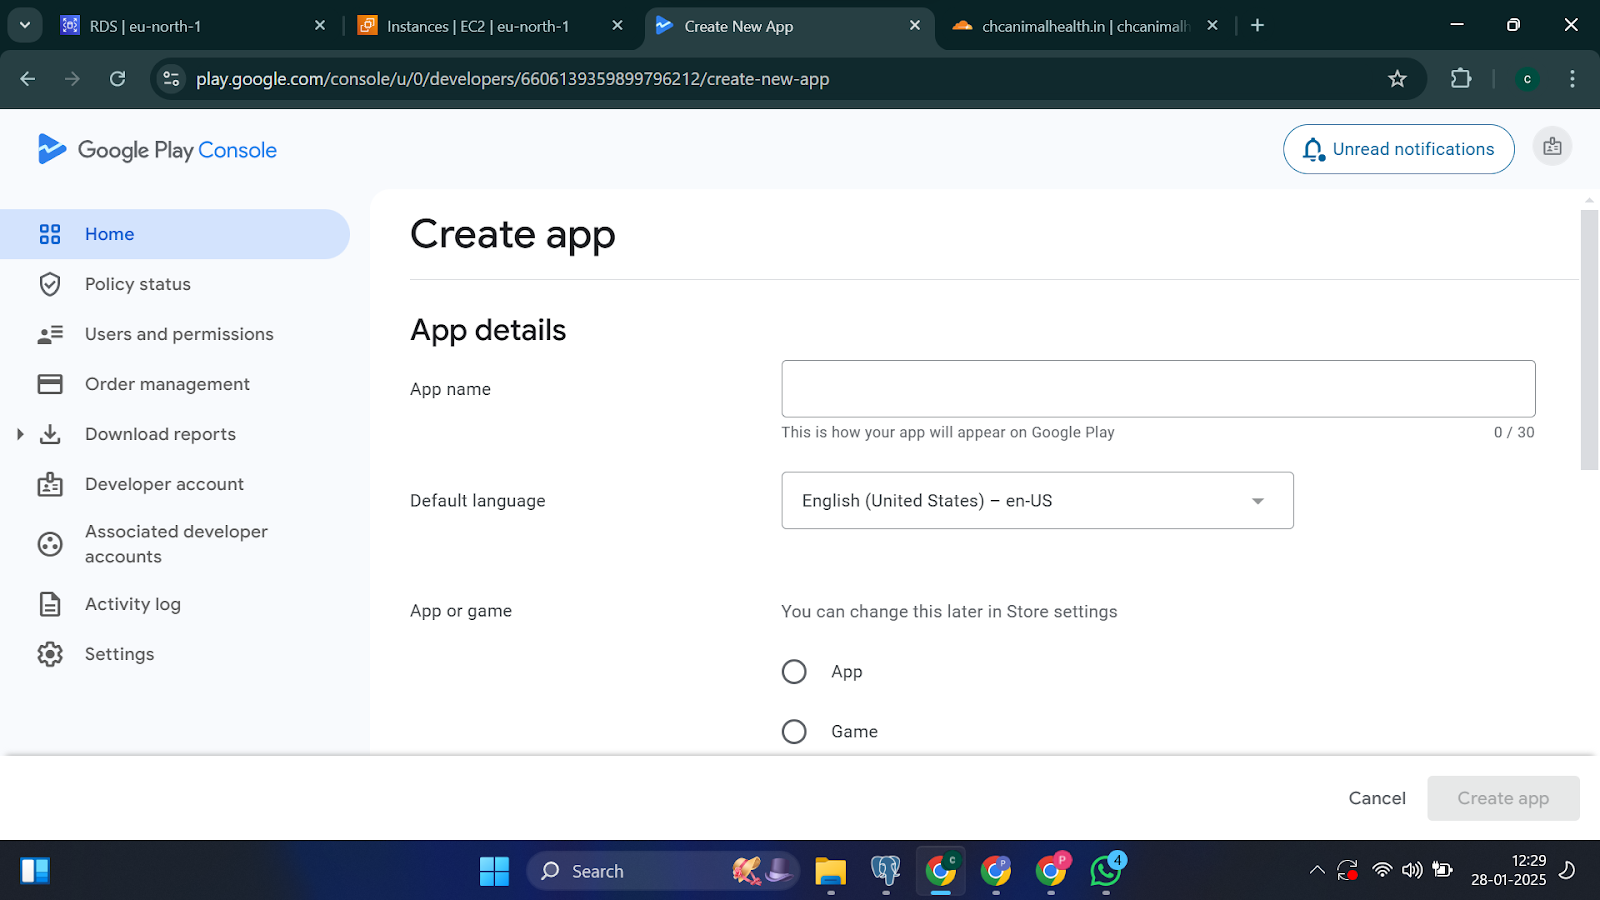
Step 3: Create a New App
- Log in to the Play Console and click Create App.
- Provide the app name, default language, and app category (e.g., Education, Business).
- Agree to the Play Store policies.
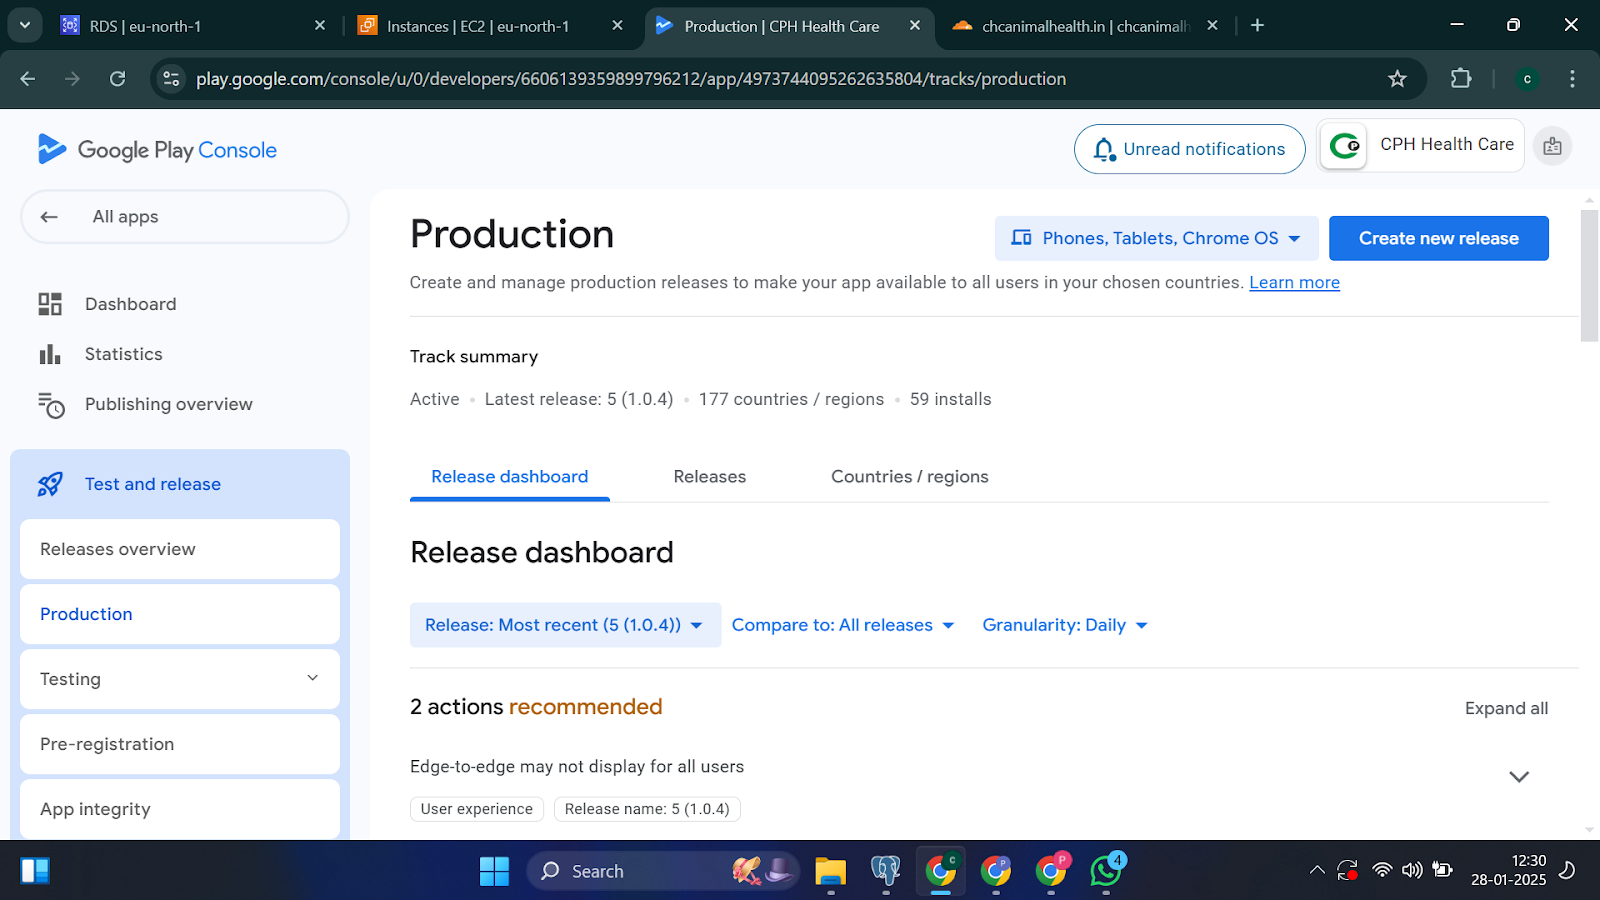
Step 4: Upload Your APK/AAB File
- Navigate to the Release > Production section.
- Create a new release and upload the signed APK or AAB file.
- Add release notes detailing new features or fixes.
Step 5: Add Store Listing Details
- Basic Information:
- App name, short description (up to 80 characters), and full description (up to 4,000 characters).
- Graphics:
- App icon (512 x 512 px, PNG).
- Feature graphic (1024 x 500 px).
- Screenshots for various devices (minimum of 2 per device type).
- Contact Details:
- Provide a support email, website, and phone number.
- Privacy Policy:
- Upload a privacy policy URL if your app collects user data.
Step 6: Configure Pricing and Distribution
- Set the app’s price (free or paid).
- Select the countries where the app will be available.
- Opt into specific programs like Play Pass or Family Library if applicable.
Step 7: Submit Your App for Review
- Complete the App Content section, including content rating and data safety.
- Review all entered details and fix any warnings.
- Click Submit for Review to send the app to Google for approval.
- Monitor the app’s status in the Play Console. Once approved, it will be live on the Play Store.
Conclusion
Deploying a backend on AWS and publishing an Android app on the Google Play Store are essential steps to bring your project to life. By following the detailed steps in this guide, you can ensure a smooth and efficient process. Regular updates, monitoring, and adherence to best practices will help maintain the quality and performance of your applications.
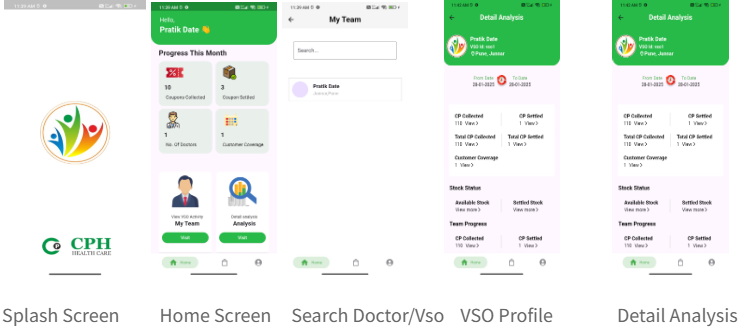
Application Images :
App link:
PlayStore